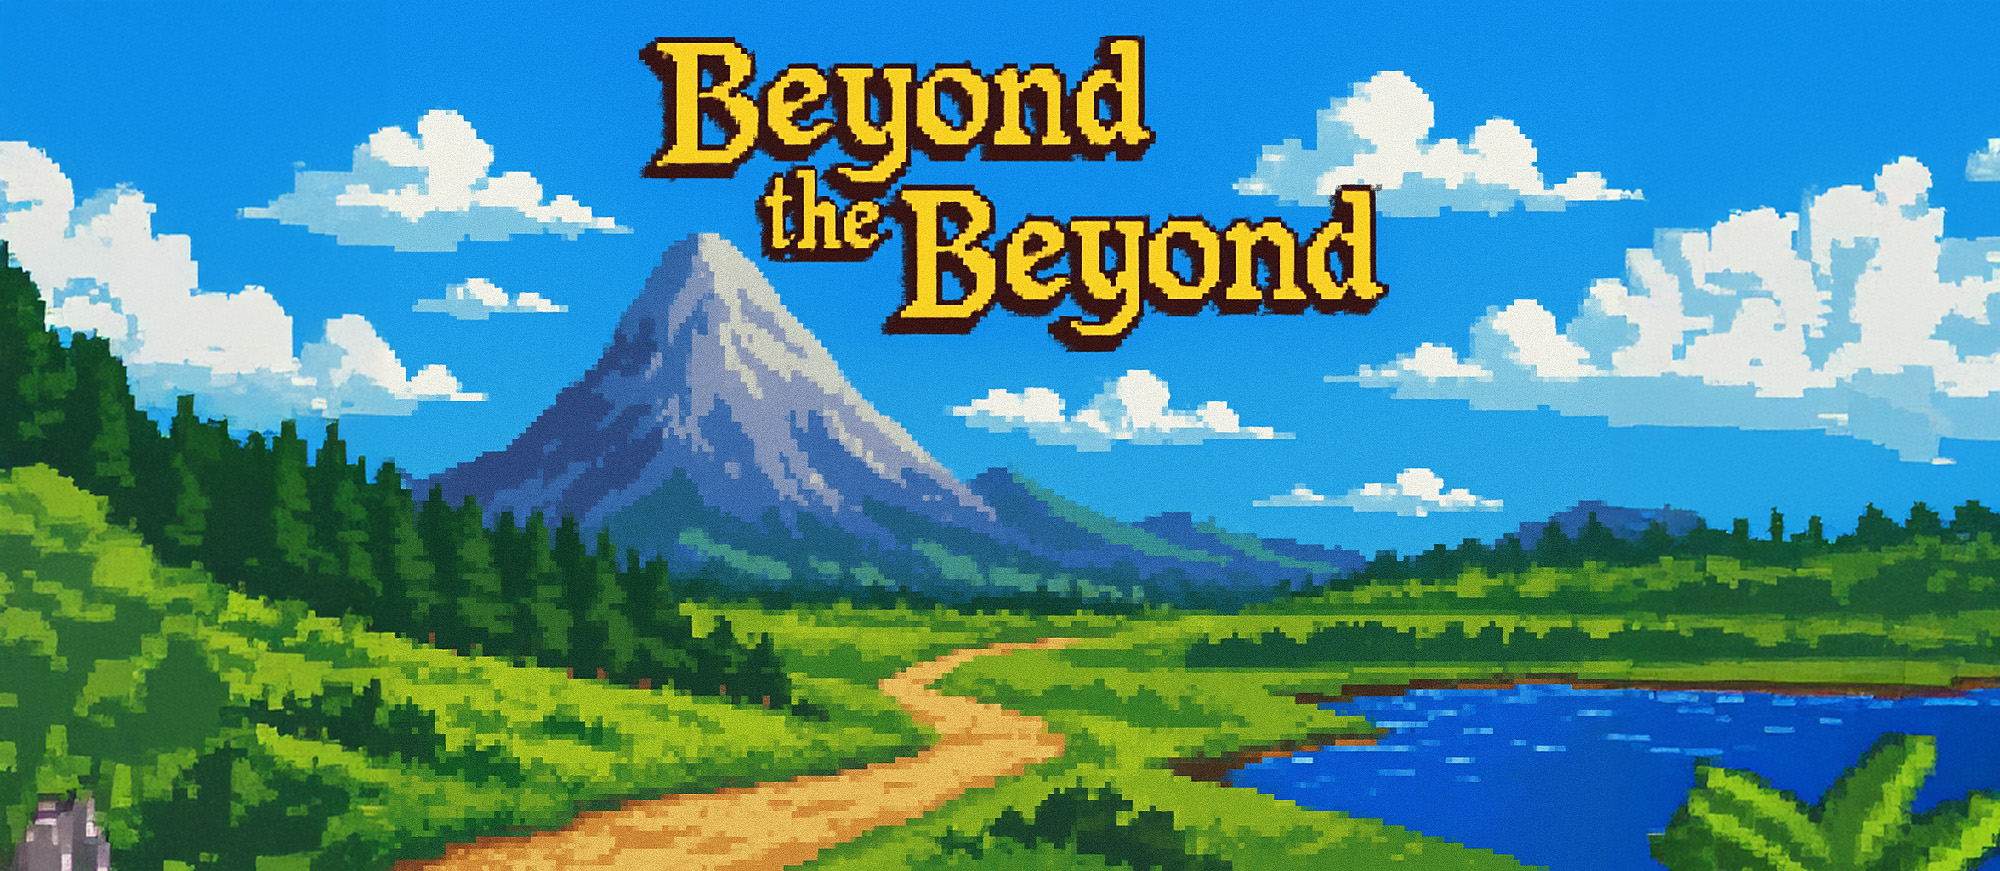
Beyond the Beyond was the first JRPG to land on western shores for the original PlayStation. It was also one of the very first games I ever played on that console. The game itself felt like an oddity, with towns, dungeons, and sprites that looked more at home on the Super Nintendo than on Sony’s much more powerful hardware. The battles tried to stand out with quasi-3D animations, 2D sprites clashing on a 3D battlefield, but it still felt stuck in the past.

I still remember heading up to Family Video on a Friday night, hunting for something to play that weekend. Flipping through the limited PlayStation section, I was drawn in by that box art. The slightly anime style, the sword-wielding hero, it had me hooked right away. Little did I know that I was signing up for hours and hours of frustration. I spent two weekends trying to make progress, only to give up and move on to better games. But even after 20+ years, that trumpeting start screen music and those shrill random encounter sounds have stuck with me.
I can’t quite place why this game has remained so vivid in my memory. Maybe it was reaching that town that could shift from day to night, it made the world feel so alive compared to other games I played. Or maybe it was discovering that pressing certain button combinations could unleash a devastating critical attack. Whatever the reason, it always pops into my head when I reminisce about old games.
So, I decided it was finally time to revisit Beyond the Beyond and slay this beast from my childhood once and for all. I was ready to explore this relic of the past in its original form, just as it was intended.
Revisiting the Intro
In order to get the truest experience, I ordered a copy of the original disc from eBay and decided to play on my PS3 so I could use my HD TV. The wave of nostalgia from the intro music hit hard, and I was soon greeted by the new game/continue screen, where an anime woman pleaded for help. I remember wondering who she was and where I’d find her in the game. Only now, as I write this, do I realize she never actually makes an appearance, she’s just there for the intro!
Everything started pretty well. The introduction is your standard JRPG affair, introducing the silent protagonist Finn. After a long day of training, Sir Kevins, who is Finn’s father, returns him to Galahad’s house, where Galahad looks after Finn while Sir Kevins is away at the castle. Finn is completely wiped out, and Sir Kevins gets a mouthful from Annie, Galahad’s daughter and potential romantic interest. The first quest has you heading to a cave south of town to collect some spirit water, a generic RPG trope if there ever was one. Annie tags along and ends up getting attacked by a giant tentacle, leading to the first of many moments where I felt completely lost. As I tried to leave the room, Stiener the dragon stops you with the same dialogue each time. It turns out you have to keep trying to leave, even though it doesn’t make sense, before the game finally lets you grab the spirit water and save Annie. It’s a perfect example of a classic JRPG pattern being used in a way that just confuses the player.
The game doesn’t slow down after you get back. Percy, Galahad’s son, shows up to warn everyone that Banadore has attacked. Percy joins the party, and you head to Marion Town to save Prince Edward. There, you meet Samson, the legendary strongman, and help him free Edward from the castle dungeon. Just a few hours in and you already have a full party, but that doesn’t last. On the way out of the dungeon, you run into Ramu, the first major enemy of the game. She curses Samson, turning him from a strong front-liner to nearly useless. Half the time he doesn’t attack, and the other half he takes 20% of his health as curse damage, and this goes on for hours.
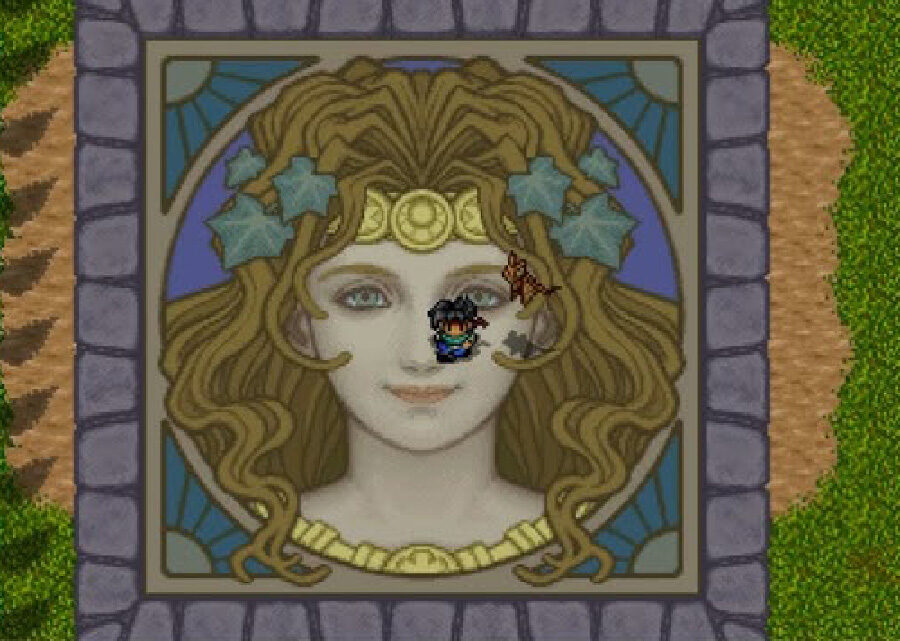
Samson sends everyone east to the border church to escape the invading forces. The border church is a glimpse of what the PlayStation can do, with a slide puzzle showing off a beautiful portrait, something impossible on older consoles. Percy breaks off from the party and smashes a lever to buy time for everyone to escape. His fate is left ambiguous, but it seems like he’s a goner. The escape cutscene introduces Shutat, the big bad of the game, dressed in purple like Ramu. He spends the rest of the game either ignoring the hero’s party or failing to deal with them directly.
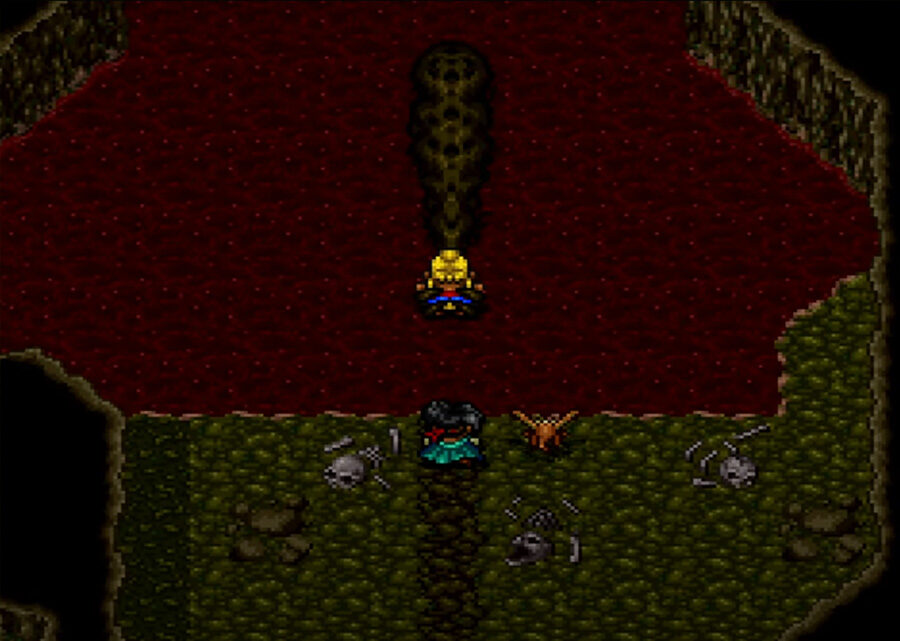
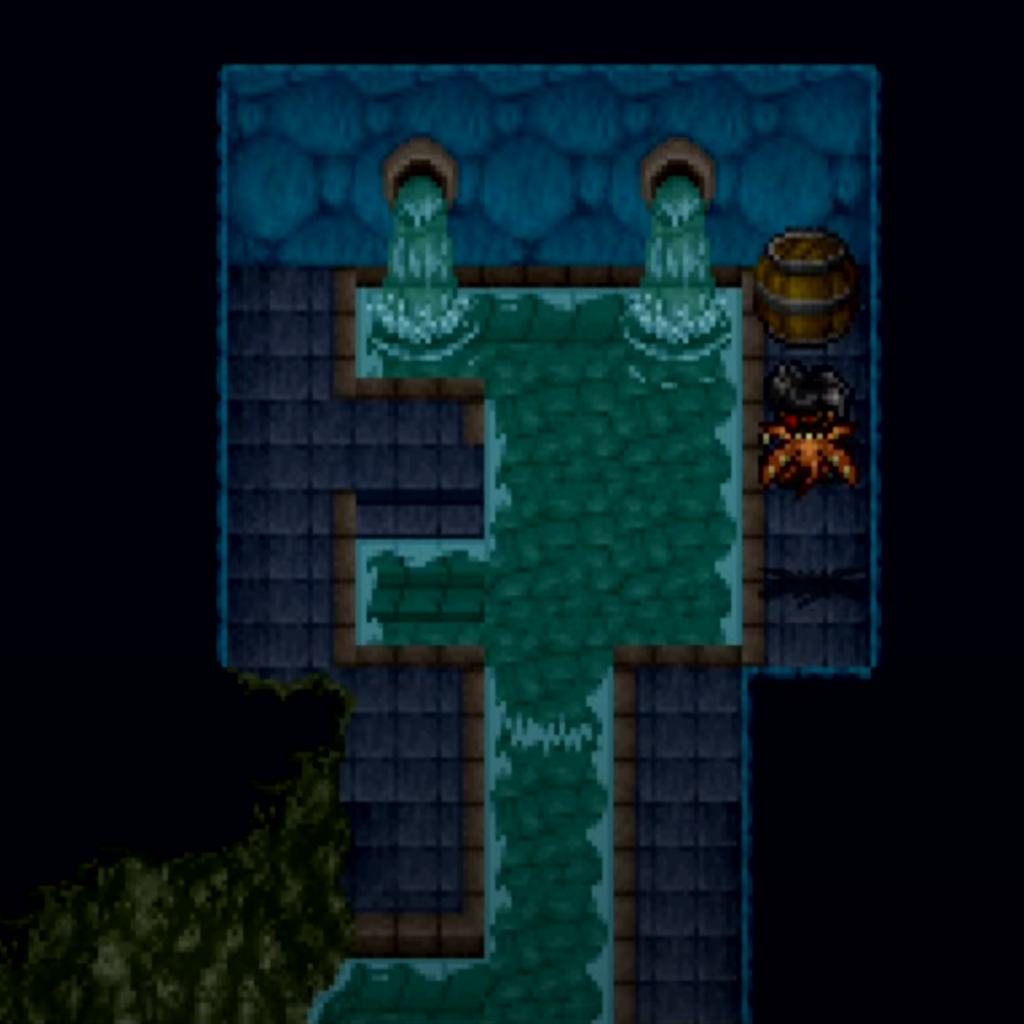
The next area in the game feels terribly out of place with the rest of the experience. Walking through the overworld forest drops you into a “dungeon” that requires climbing and navigating through trees. This is where the major complaints with the game really start to hit hard. The tree has a bunch of holes that need to be filled by pushing giant acorns through a winding maze. The puzzle itself is not hard, but having to fight a random battle every three to five steps is beyond frustrating. Later in the dungeon you have to pick holes to fall through to make it down the tree, but if you hit a web on the level below it catapults you back up. There’s no real challenge here, just a lot of guess and check with constant random battles as you hunt for the correct hole to jump in. And if you’re like me, you see a giant tree and giant spider webs and prep for a giant spider boss battle! Instead, the dungeon just ends without any fanfare, and you walk out and back onto the world map.
It was at this point, five or so hours in, that I made a decision I had hoped to avoid. There was no way I was going to make it through the rest of the game without some modern emulator help, particularly fast forward and the ability to disable random battles. I dreaded the idea of playing through the intro again, but I knew it had to be done if I was ever going to finish this game. I booted up PCSX, turned on the fast forward, and blew through the opening segments in about an hour until I was caught up to where I left off. Let me tell you, turning off random battles during puzzle segments is a lifesaver, but it also severely nerfs the challenge of the game. Many of the dungeons do not have bosses, and instead rely on the constant random battles to serve as the “boss.”
You’re going to need a guide
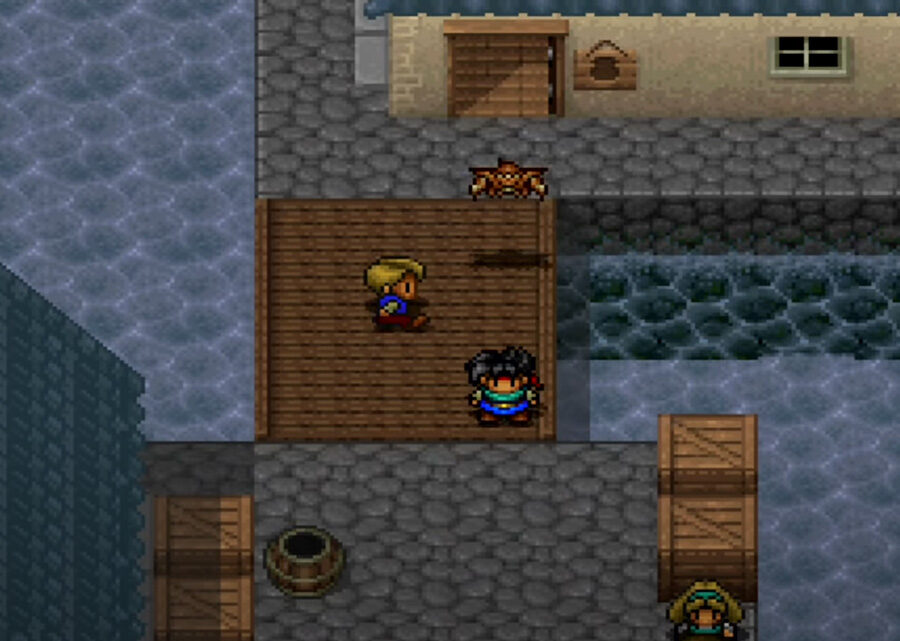
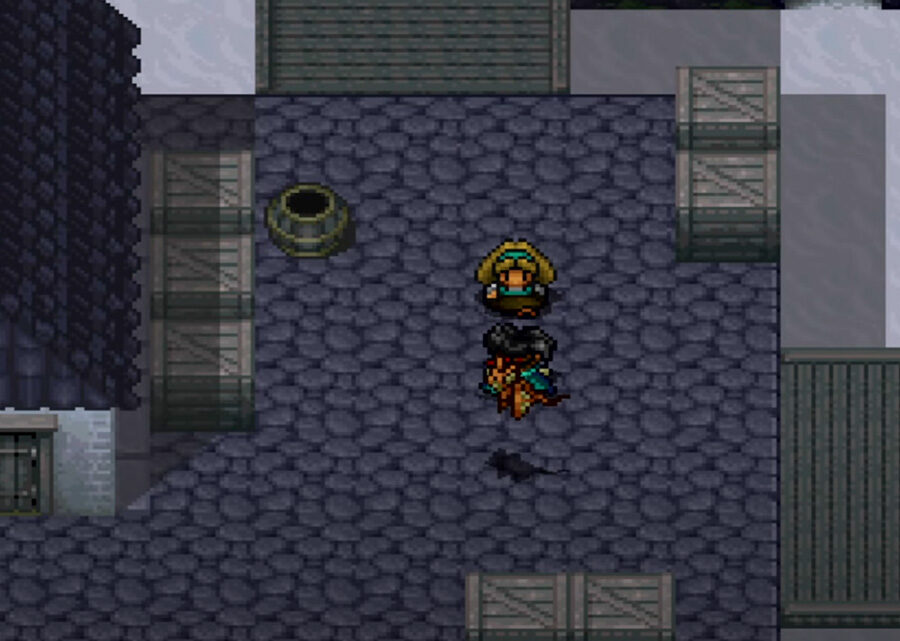
The game opens up quite a bit at this point, giving you access to most of the large continent where the game takes place. There is nothing guiding you to the next destination, and with no world map it is easy to miss cities or towns as you walk around. Luckily, the first stop of Zalagoon Town is hard to miss. The goal there is to recruit help in order to take back Marion, but before you can get an audience with the king you have to trek through JRPG trope number 3000, the sewers. The sewer dungeon is amazingly frustrating. You have a one-square walkway that you must guide your character around, and if you step off in the wrong place you get swept up in the current and taken all the way back to the beginning.
After going all the way through the sewer, finding a random key, and unlocking the gate, you can pop up in the back courtyard of the castle where you meet Sir Bison. He says they would like to help but the new advisor Glade has been causing trouble. He sends you back to town (through the sewer again) so you can go into the castle and finally meet the King, Queen, Sir Bison, and Advisor Glade. The latter accuses the party of being imposters. Samson tries to lift a pillar to prove his strength, but the curse prevents him and the party is rejected. If you thought venturing through the sewer twice sucked, well, it is time to do it again! Back through the sewer dungeon to the secret meeting with Sir Bison and the Queen, who believes you but is powerless to help. She does, however, provide a magic bean. Why? Well, just because. There is no clear guidance on why you need this bean or when or where it will be useful. In fact, you could leave it in the chest and just leave without it.
The party says their goodbyes, and now I had to figure out where to go next. The only clue is that a couple of townsfolk mention a town in the desert to the south. There is no compelling reason to go there, but it is the only location discussed, so off we go!
The Desert Town and Beyond
The desert town of Ophera is a quick pit stop. There is some discussion of a floating tower to the west, which I had noticed on my way in, and the port town of Luna to the southwest. Checking around town, there isn’t much to do and I felt like I was missing something. I spent time talking to every NPC until I was satisfied that it was time to move on to the port city of Luna. Luna is a hike and a half away from Ophera. About halfway there, I had to pause the random battles again because they were making progress grindingly slow. Arriving in Luna, I finally found some juicy gossip that felt like it might go somewhere. There were rumors of a Vase of Life that a pirate named Domino was looking for. There was also talk of a town to the east through the forest, described only as “boring.”
This was a pivotal point in the game for me. In my childhood playthroughs, I remembered getting an item that would let me change Luna from day to night, and I remembered it being in the dungeon below that floating tower. But I also remembered going to a secluded town to the north to try and lift Samson’s curse. I searched for a hint as to how I should find out about either of these next steps. From everything I could gather, there is nothing, and I mean nothing, that points you to these locations. You just have to head out and see what you can find.
I decided to start by going north, looking for Simone town. There was another small cave dungeon on the way that was wholly unremarkable. I did make sure to collect a random magic emerald from one of the outdoor areas of the cave, which would prove useful in Simone. Clearing the dungeon dropped me in an alcove of mountains with a small village. Two things of note happen in Simone. First, you can give the magic emerald to a summoner on the west side of the village, and he subsequently causes an explosion and leaves you with a little yellow slime following you. When you try to leave town, the slime turns into a small ball-shaped creature named Tont. Tont messed with some shape-shifting dust and is now stuck in this form, but that’s okay because he joins you as a summoner, bringing the party back up to five.
Speaking with the Simone elders yields little result. There is a great buildup of them preparing to break Samson’s curse, followed by failure. The curse is too strong, but perhaps Master Zeon could lift it, only he has secluded himself in a temple and put a rock in the way. Yes, the fate of nations hangs in the balance and your party refuses to walk off a path and around a rock to find Zeon. There is no way to get to Zeon right now. The game doesn’t tell you that, but instead I spent an hour hunting around looking for some way to reach him before giving up and deciding to head back to the floating tower dungeon I had passed hours ago. Why did I choose that dungeon? Because it was the only place on the map I hadn’t been.
The Ancient Temple is another straightforward dungeon. You move the sliding floor blocks around to traverse the multi-level floors and make your way deeper into the dungeon. It is a long and grueling slog with constant retracing of your steps. As I got to the deeper floors, my resources were dwindling and my party was getting knocked out left and right. I made it to the bottom of the dungeon and claimed the Moon Crescent from a chest, still no boss fights. With Samson dead from taking damage from curses, I used a guiding branch to warp out of the dungeon and hobbled my way back to town to rest.
This is probably a great time to explain another quirk of Beyond the Beyond. Your characters have VP (Vitality Points or HP) and LP (Life Points). Taking damage reduces your VP, and when you hit zero VP, your character becomes groggy. At this point, they lose a turn, and at the end of the next turn they lose some of their LP, which restores 50 to 100 percent of their VP and brings them back up. At level 10 or so, each character essentially has three to four health bars worth of LP they can burn through. It makes for an interesting balance between using your LP as a resource and keeping your character from losing all their health. I never figured out how much LP a character would lose to recover from being groggy or what caused a 50 percent heal versus a 100 percent heal.
Beyond the Beginning
With the Moon Crescent in hand, I made my way to the port city of Luna. This was such a fond memory for me. During my original playthrough, this was the moment I got completely stuck. The town has a wildly different feel at night, with pirates roaming around and music playing. There are more rumors about Domino and someone looking for the Moon Crescent to exchange for the Statue of Gaia. There are also a number of chests around the town that can only be collected at night. This is another one of those things that stuck with me as a kid. I wanted to get into those chests so badly, but it took me hours of playing until I could access them. I also have a good idea why I got stuck as a kid. There is a townsperson who offers to exchange the Moon Crescent for the Statue of Gaia. I had just spent hours trekking through a dungeon to get this crescent, how could I possibly give it up now? My older, wiser self made the trade and now I was the proud owner of a statue with zero idea what to do with it.
So I did the only thing Beyond the Beyond expects you to do, follow up on the random musings of NPCs. I set off through the Mist and Rainbow Valley, which contained lots of mist and one small rainbow at the end, to the town of Jonowan, also known as the boring town to the east. The town was less boring and more xenophobic, with every NPC complaining that you were there and telling you to leave. There is a statue in the middle of town that gives an obscure clue about walking a certain number of steps east and north. Thankfully, there is a very suspicious set of stones in the northeast of town, and walking in a certain path reveals a stone pillar. This was it, this was the moment where I had gotten as far as I ever did as a child. I placed the Statue of Gaia in the pillar and the water outside town parted, leading to another dungeon. I had found this pillar as a youth but never traded my precious Moon Crescent for the crummy statue I needed to progress.
From here forward, everything was unexplored territory, though I would be lying if I said I remembered even 50 percent of the events leading up to this point. I was finally moving beyond the beginning! The adventure picks up pace in the second half, with the dungeons getting more frustrating and the directions even more sparse. I’m excited to see where the rest of this journey goes—finally pushing beyond the frustration that stumped me for decades.