The second half of Beyond the Beyond goes quick. At this point in the game, your options for what to do next start narrowing, and the narrative picks up, making it easier to find your path forward. In the last part, I had just unlocked a path across the ocean that led to the next dungeon. I have to reiterate how exciting this moment was for me. This is where my childhood playthrough stalled out, and I was now breaking new ground and moving into the unknown.
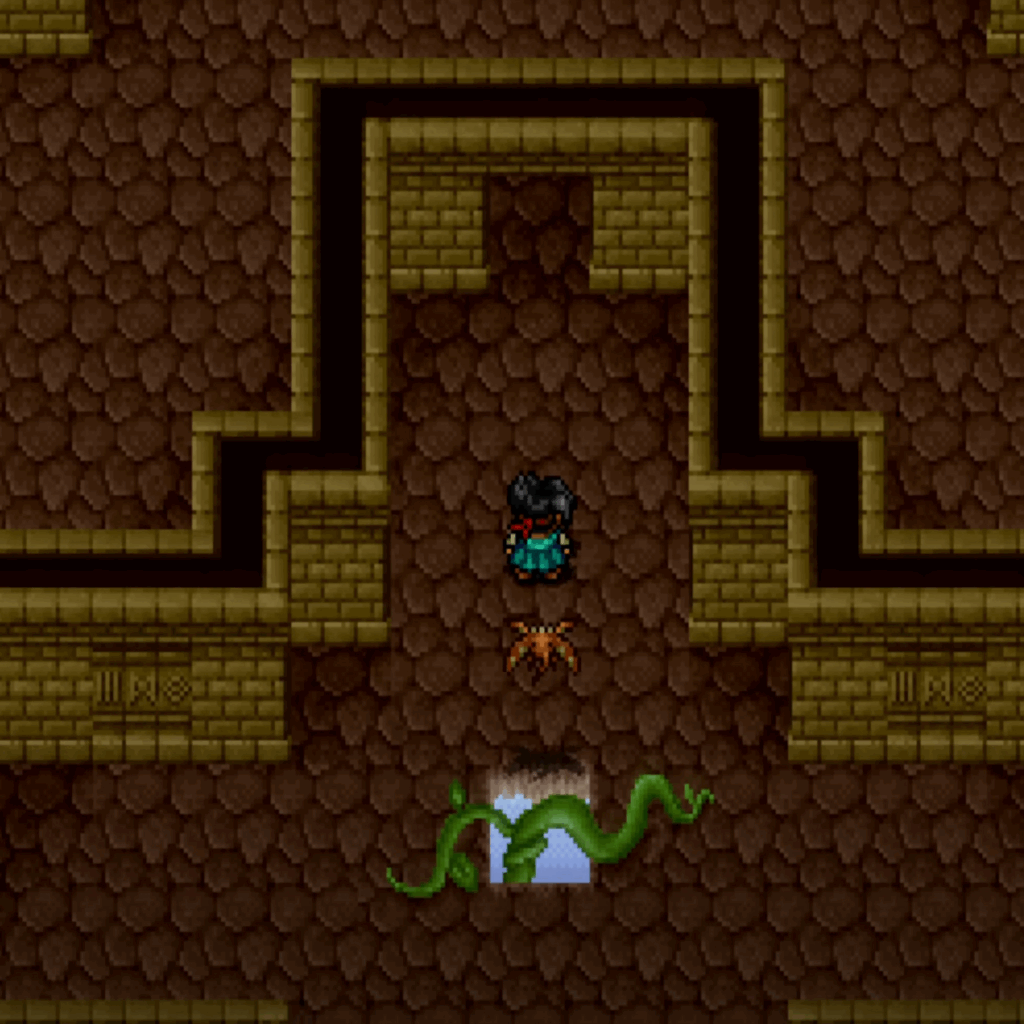
The Gaea Shrine was my next destination. This was another dungeon that was designed to be another brutal slog with eight floors of increasingly tough battles. The hardest part is that this dungeon introduced a number of enemies with attacks that hit your whole party for 20 to 30 percent of their health. Combine this with the possibility of running into three or four of these enemies in a group, and it could mean a party wipe with little you can do to stop it. Add to that a dungeon mechanic where statues follow you around and lead you into dead ends, forcing you to backtrack multiple times and fight through even more battles to get back to where you started. I was completely unprepared for my first foray into the dungeon and had to warp out halfway through to stock up on healing items before I tried again. My second attempt went much better as I had gained levels and filled my bags with healing items. I was in for a huge surprise at the end of the dungeon, however.
Walking into the final room of the Gaea Shrine, I discovered a wounded but alive pirate, the one and only Domino who had been the topic of many rumors in the port city of Luna. But he wasn’t alone. The dungeon is home to Beyond the Beyond’s first boss battle, the Water Demon, and she hits like a freight truck. I burned through nearly every healing item I had and had multiple characters dead (looking at you, Samson, who hurt himself more with curse damage than the boss did). It was a shock fighting an actual boss at around 10 hours into the game. The shallowness of the combat system starts to show, by mid fight I was out of magic points and was just hitting the damage sponge of a boss with physical attacks. But in the end, I was victorious and claimed my prize, the Vase of Life and rescued the pirate Domino.
The Twist
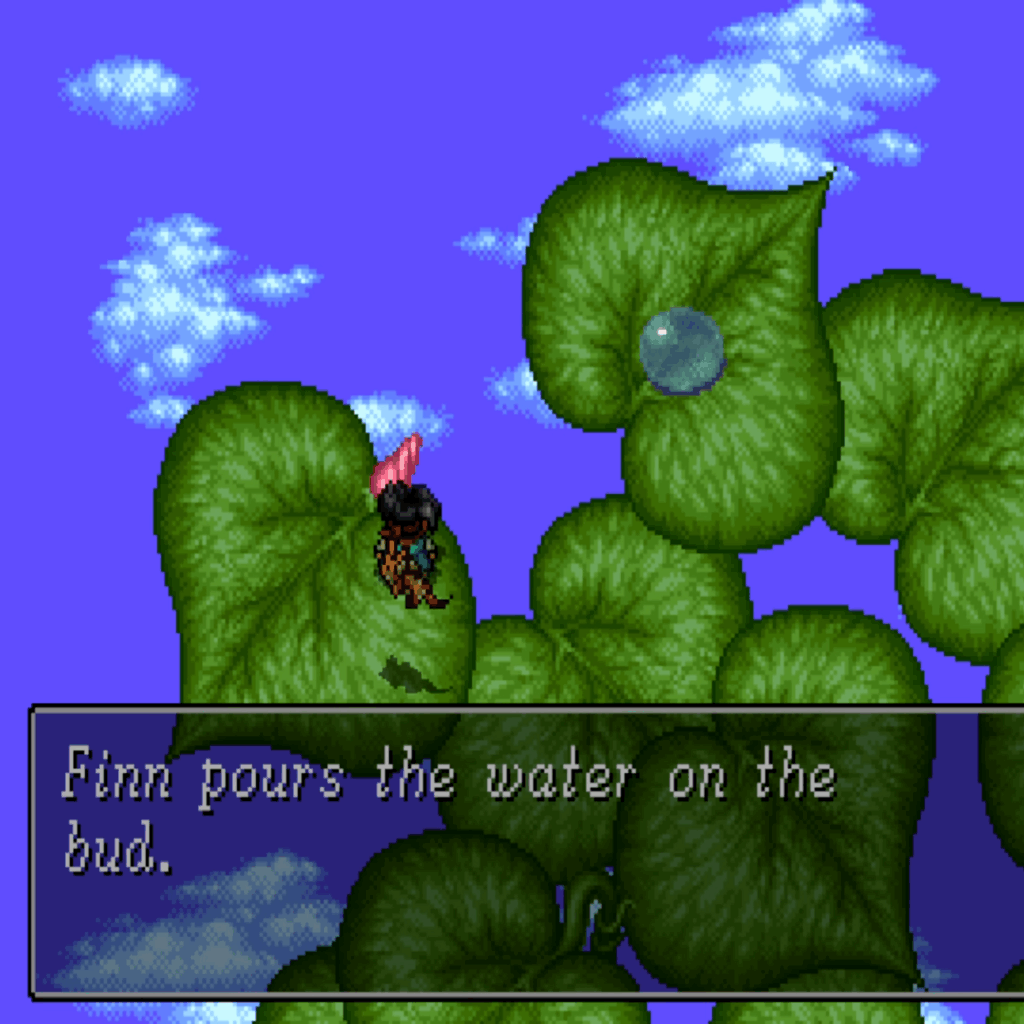
I spent the next hour trying to figure out what my next destination should be with zero luck. I broke down and looked up a guide, which directed me all the way back to the ancient temple I had gone through in the first few hours of the game. Rather than entering the dungeon again, I could use the newly acquired Vase of Life and the long-owned Magic Bean to sprout a giant beanstalk that would take me to the Tower of Arawn. Climbing the sprout itself was a dungeon that introduced an interesting leaf mechanic, where you had to carry droplets of water to grow leaves and continue up the sprout. This was a refreshing and interesting mechanic compared to the previous dungeons that felt like they were only there to force you to backtrack. Summiting the vine dropped me off at the base of the Tower of Arawn.
The tower had two interesting aspects. First, there was a day and night puzzle that spanned multiple floors, forcing me to swap between both in order to unblock different paths. The second was a strangely out-of-place 3D effect when moving outside of the tower. I say it is out of place because it feels like an SNES effect simulating 3D by warping sprites, but this is on hardware fully capable of true 3D effects. Outside of those novelties, the rest of the tower was uninteresting until I reached the final room.
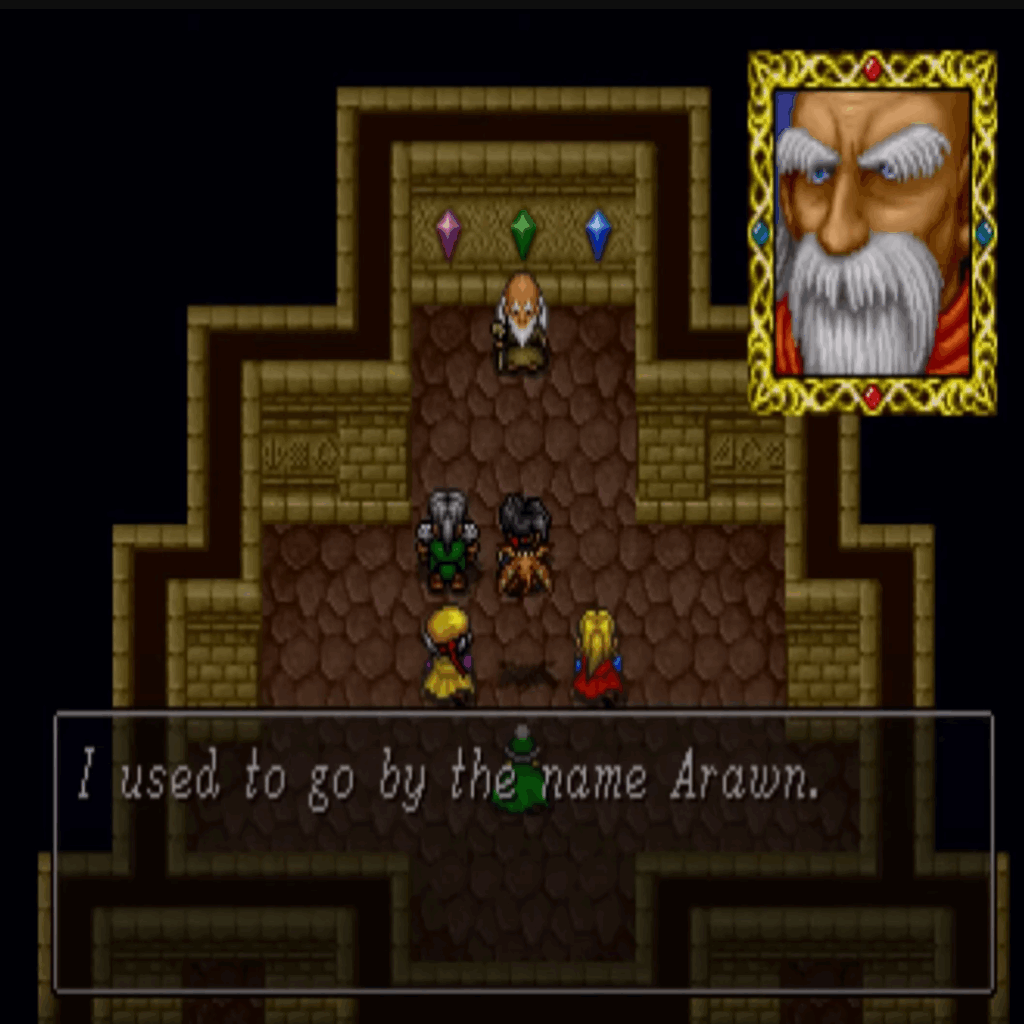
My party was greeted by an old man appearing from and orb of light and introducing himself as Arawn. That’s right, two tropes back to back: climb the beanstalk and then meet God himself. Arawn placed the fate of the world on my shoulders, finally giving me a reason for all this madness. It was here that the game revealed the true threat. Finn was destined to defeat the Vicious Ones, a name that finally gave weight to Ramu and Shutat, who had been manipulating the emperor of Bandore to attack Marion at the start of the game. These were not just random mid-bosses, they were the true big bads pulling the strings behind the entire conflict between Marion and Bandore. Arawn re-emphasized that I was destined to save the world and gave each character an orb of light with not explanation as to what the orbs do.
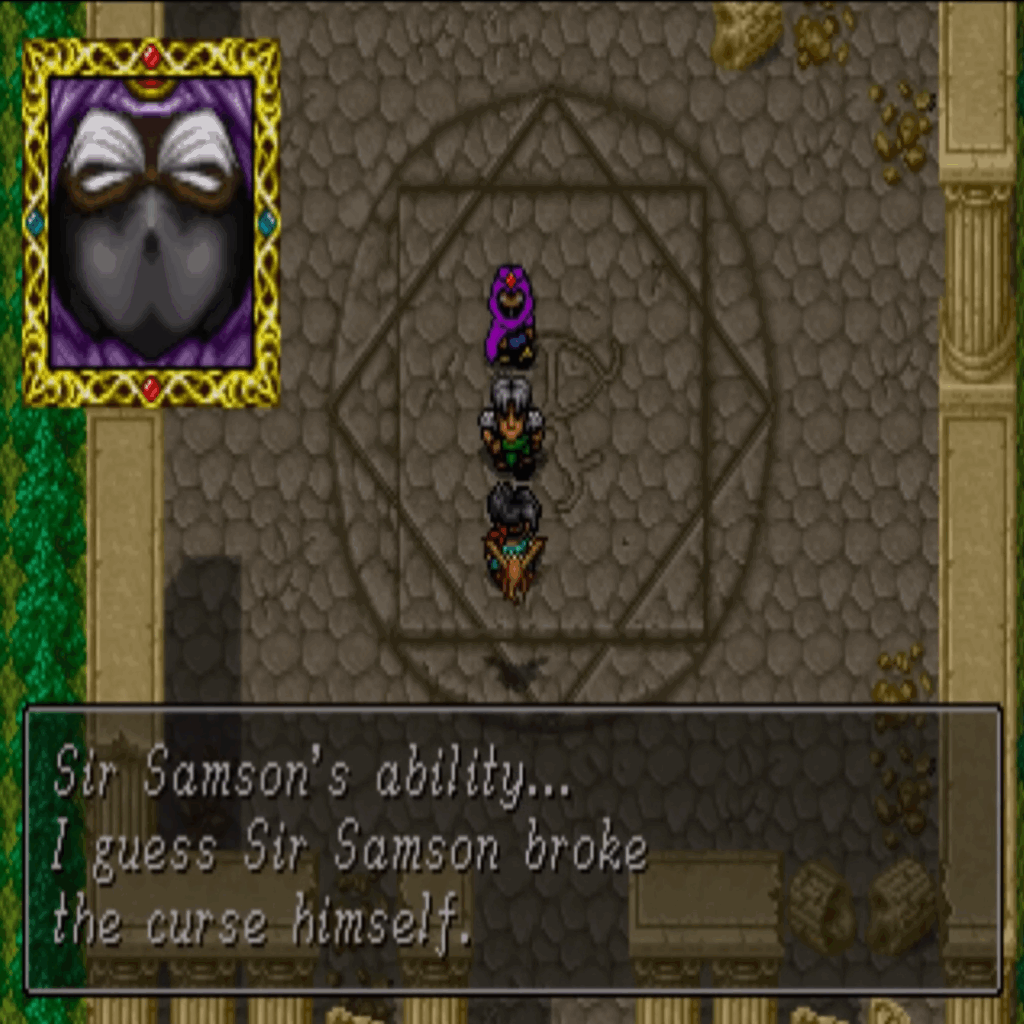
In what felt like an absolute breath of fresh air, the game finally took some mercy on me. Instead of forcing me to trek back down the tower and vine, my party was teleported straight to the shrine at Simone village so that Master Zeon could finally break Samson’s curse. Zeon talked to Samson, used his magic, and Samson was finally free from the curse. Except the game throws in one line that just irked me to no end. As Samson is celebrating being cured, Zeon says, “…I guess Sir Samson broke the curse himself,” implying that Samson had the ability to break the curse the entire time and Zeon didn’t actually do anything? Come on, after all this time and finally breaking the curse, you’re going to undercut the moment like that? I was not amused, but at least I was given a clue as to our next destination. Back to Zalagoon so I can finally prove the advisor wrong, show off Samson’s strength, and get the help Marion needs.

More Sewers?
Arriving back in Zalagoon, I beelined it for the castle, ready for a showdown with the advisor. I was also fully prepared for someone to stop me and force me to go through the sewers for a fifth time, and sure enough, I was right. A young boy breaks the news to me that the castle is locked down and that the advisor has nearly convinced the King to surrender to Bandore. I found myself wondering who this kid was and how he knew the inner politics of the castle, but if this game is going to spoon-feed me information for once, I’m not going to question it. I hopped back into the sewers expecting an easy time, only to find that the enemies were newer and stronger. Thankfully, the sewer is short, and I was back in the courtyard in no time.
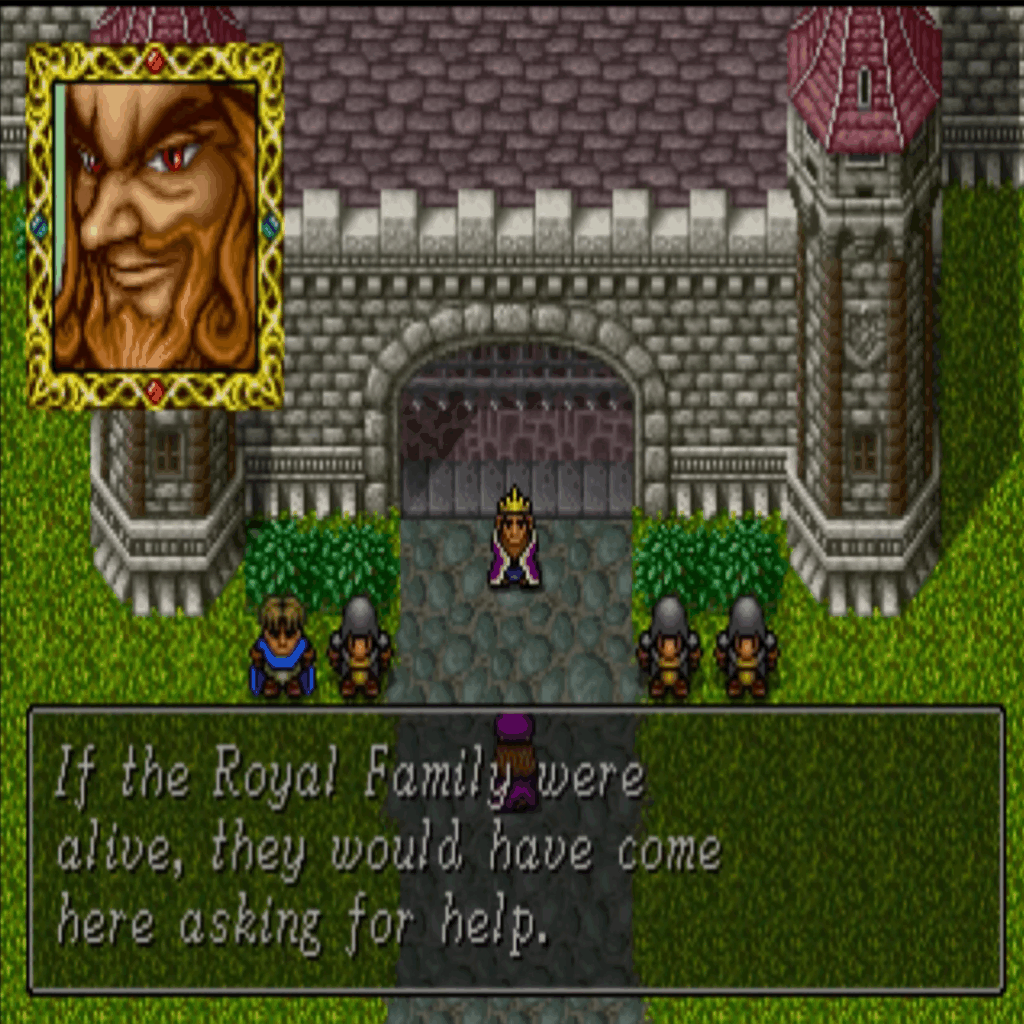
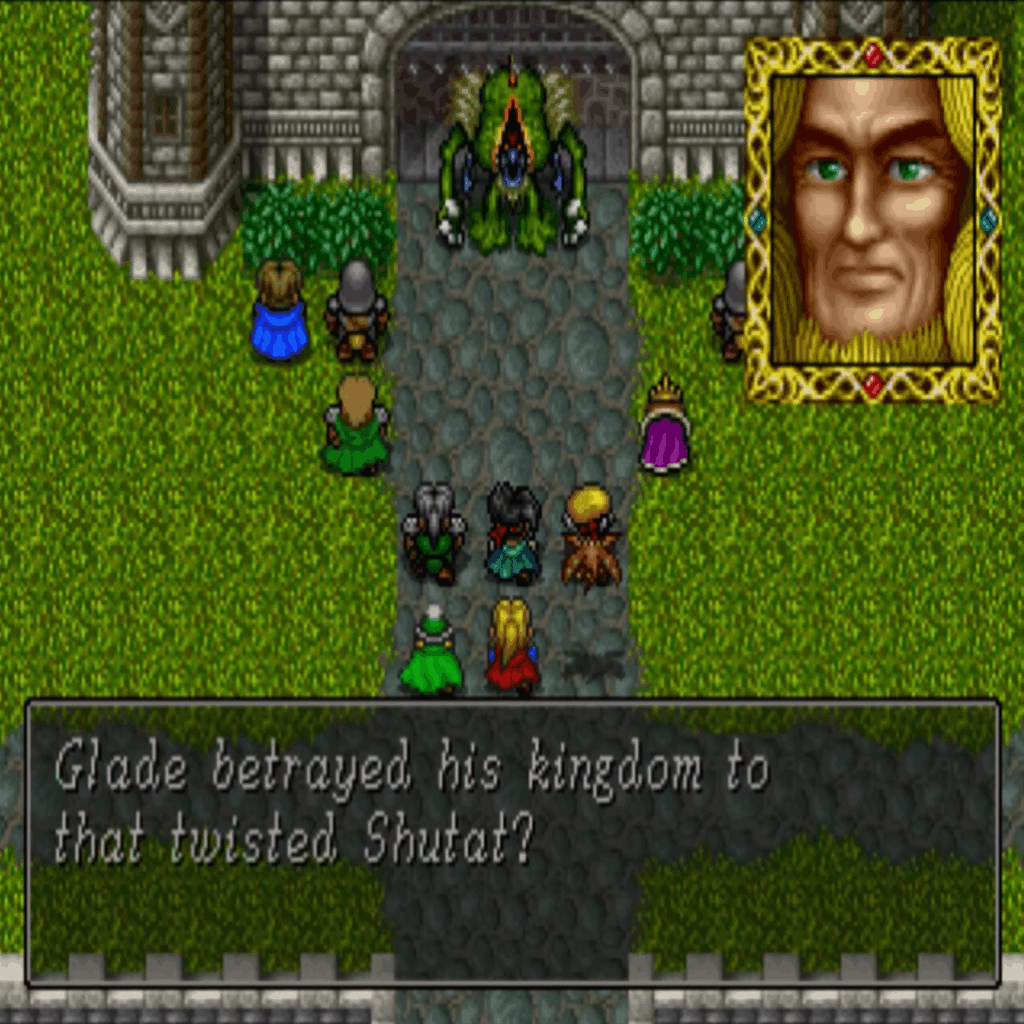
Sir Bison meets us there, discusses the curse being broken, and takes us to a meeting with the King. Samson gets another opportunity to lift the giant pillar and does so easily, proving that Edward is the Queen’s nephew and that the King will pledge his aid to Marion. It is about this time that Advisor Glade starts making a run for it. He reveals that he was working with the Vicious Ones and was promised the throne of Zalagoon if he kept them out of the war. When the King calls him mad, Glade starts rambling about random things and someone named Pepper. This had me second-guessing my sanity as it was so weirdly done. Glade then takes a strange pill and transforms into the second boss of the game. He turns into a weird mutant plant creature with purple arms that gets multiple turns to my one. Glade wasn’t terribly difficult, but every once in a while he would dual-cast Fire 2 on his turns and bring my party’s HP to critical levels. After pummeling him with a Samson that no longer hurt himself every other turn, the fight went fairly quickly and we had won.
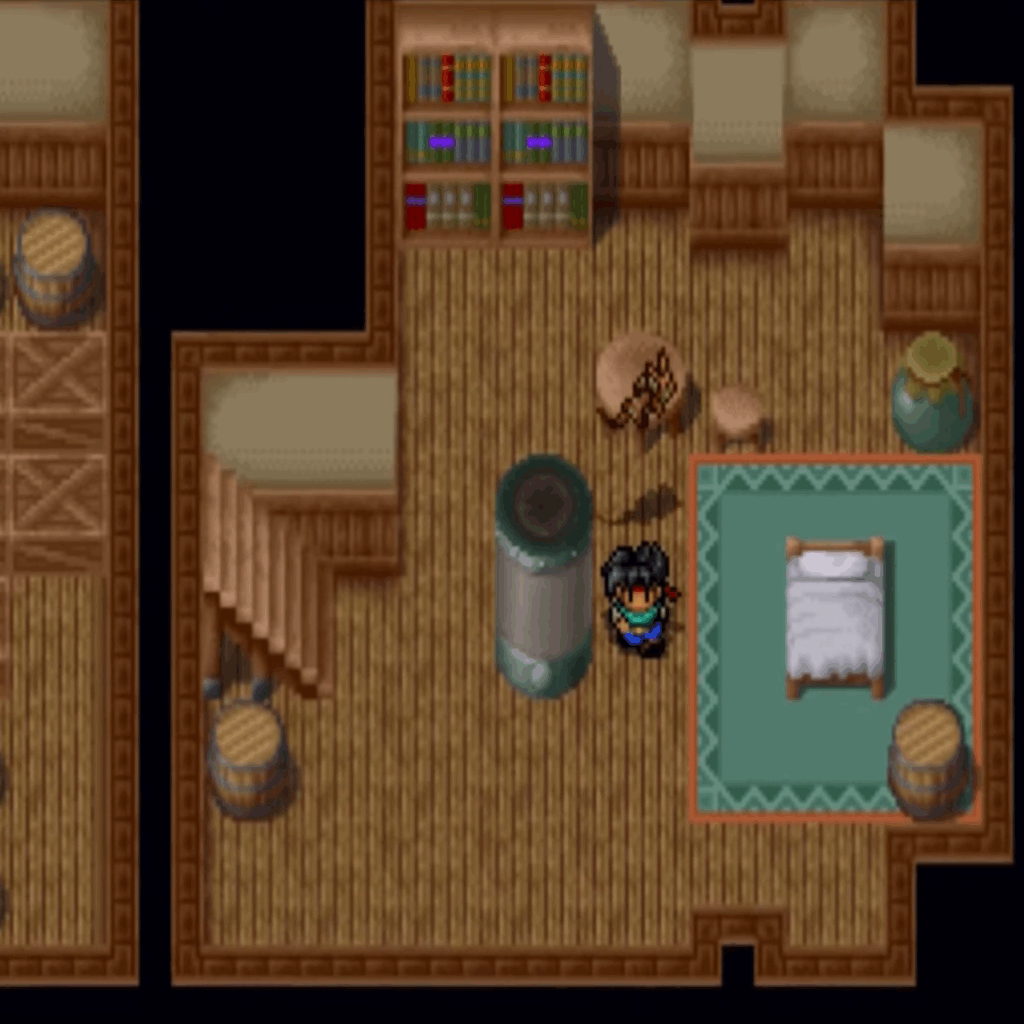
The King offers a quick rest while he readies his troops, which leads to a clunky scene where you wake up in a bunk room in the castle but the rest of the group is asleep. Talking to them doesn’t get a response, and when you go to exit the room, everyone wakes up and asks if you were trying to leave them behind. I think it was meant to be a “the hero doesn’t want to put his friends in danger” moment, but it just felt confusing. After a quick chat with the King, you learn that Zalagoon’s troops are at the bridge but are being held off by Bandore. Looks like I have to save the day again!
To Marion!
This is where I grew incredibly lucky in my playthrough. I had misremembered the map and thought I needed to go through a cave to get to the bridge between Zalagoon and Marion. The cave I picked was not the one I thought it was, it was an entirely new dungeon I had not explored. I don’t know how I missed this entrance up until this point, but the stars were on my side because this was the path I needed to continue the game. In the cave, there is an abandoned house with two tombstones next to it. One is noted as being written by Finn’s father, Sir Kevins, and marks the resting place of Sir Norton. The other marks the grave of Marion’s princess, Katherine. These felt like rich details in a dungeon where nearly every other dungeon to this point had little dialog or lore. Deeper in the cave, I ran into a sleeping dragon. The dragon didn’t respond to anything but blocked my path. This was the roadblock that would have stopped me from traversing this cave in the other direction, as the other path included one-way ledges to jump down.
I was spit out of that cave near the entrance to the cave I took early in the game after completing the slide puzzle. At this point, all these caves were really blending together for me. I made quick work of the cave back to the border church since it still had early game enemies, though this did give me pause as to whether I was on the right path. The gate that Percy had blocked earlier in the game was destroyed, which allowed me back to the border church, only to find that the priest there had been taken away by Bandore troops for aiding me. The game world was really starting to shine with little details like this that make it feel like the choices I had made had a lasting impact. It was at this point that I realized I had overshot the bridge and was actually back in Marion territory, but that was exactly what I needed to do. This allowed my party to get the jump on the Bandore troops at the bridge and free the way for the Zalagoon army to come through and liberate Marion!
Marion town was littered with bodies of fallen soldiers on both sides. I made my way into the castle and was greeted by a short cutscene with a Bandore and a Zalagoon guard. The Bandore troops were victorious and ran off while I gave chase. At the rear of the castle, I found the Bandore Emperor fleeing on a carriage. He did stop long enough to monologue about how Shutat would have to fend for himself, I’m sensing some foreshadowing of a betrayal! A large gate dropped behind him and the Emperor had escaped my grasp for the time being. I had to explore the castle for a while to find another key that allowed me to release Marion’s king from one of the castle towers and then open the gate that the Bandore Emperor had escaped through. But then Shutat came down the stairs for an epic showdown. Shutat finally realizes the danger that my party poses and decides to once and for all put an end to Finn. He prepares to attack but is surrounded by Marion and Zalagoon troops. Ramue shows up and teleports Shutat away to safety, vowing to deal with us another time.
The game moves to a cutscene in the castle throne room where my party is thanked for all their help, but they also receive some solemn news. During the attack, Sir Kevins was captured and taken to Bandore, but Marion and Zalagoon are recovering from the recent skirmishes and have no intention of invading Bandore. Sir Galahad steps up to take Kevins’ position until he can be rescued. Samson and Edward leave the group to stay in Marion, while Finn sets off to save his father in Bandore. This was such a great moment in the game, a nice finale to the initial plot points that kicked off the adventure, a bittersweet goodbye and a strong reason to continue. It was at this point where this went from a game I just really wanted to get through because I had to, to a narrative that was pulling me along. I left Marion and made my way west to the Bandore border.
Rescue of Sir Kevins
The west bridge was now open and granted me access to the next landmass, but before I left, I was greeted by Samson and Edward. They had chosen to rejoin me on my journey to save my father and put an end to the Vicious Ones.
The path to Bandore was an absolute chore. Rather than a straight route, it felt like a maze of rivers and mountains designed to force the longest walk possible. The game had picked up so much momentum, and trudging across the overworld with constant battles slowed everything back down. The people of Bandore share some of the town’s history and hint that the Emperor had become more aggressive since Shutat appeared. At first, I couldn’t find a way into the castle, but one house contained a small child who slipped through a wall into a hidden path. I followed him into the basement of Bandore Castle, fought through a few battles, and eventually reached the dungeon—where I found Lord Kevins hanging in a cell.
Kevins was surprised to see Finn but was glad, as he had news to share. It turns out Lord Kevins is not Finn’s biological father. Finn was adopted after Kevins’ dear friend Sir Norton and Katherine died when he was young, these were the graves I had discovered in the dragon cave. Kevins tells Finn that the fate of the world rests on his shoulders, and that he must flee and not worry about rescuing him. He insists we must travel to Quamdar and seal the Vicious Ones away again. I feel like Samson should have been able to rip those chains out of the wall, but JRPG logic says otherwise. After leaving the dungeon, there’s a cutscene showing Kevins being dragged off to his execution, and there’s no way I’m letting that happen. I followed them out of the castle to a volcano dungeon, only to walk right into a trap set by Ramue and Shutat.
My party was trapped between two locked doors, on a mountain… I guess we just have to suspend disbelief here. After a monologue where Shutat once again doesn’t have time to deal with me directly, he teleports away and leaves two mini-bosses in his place. After an easy battle, we were still trapped, until a mysterious Black Knight appeared and dropped a key to free us. A short while later, I finally caught up with Kevins, who was tied up and about to be lowered into the volcano. I tried to pull the rope back to save him, but the stairway underneath Finn collapsed. Suddenly, I was face to face with Yeon, a magician pretending to be Lord Kevins to trick me. Just as things looked hopeless, the real Kevins shows up, grapples with Yeon, and pulls us to safety—leaving himself and Yeon dangling over the edge. Kevins tells Finn how proud he is, and mentions that the Black Knight helped him escape. Then the rope snaps, and both Kevins and Yeon fall into the volcano.
The party has a somber moment before continuing the chase after Shutat. At the docks, Shutat and Ramue are already fleeing on a ship, leaving the Emperor of Bandore behind. That’s some karma for you. Just as I’m about to strike, Shutat begins firing on the docks and kills the Emperor. Ramue suggests firing on us next, but the sleeping dragon from the cave suddenly appears and attacks their ship, forcing them to flee once again. And just as I’m wondering how I’m going to give chase, Domino, the pirate we rescued earlier, shows up and offers the aid of his ship.
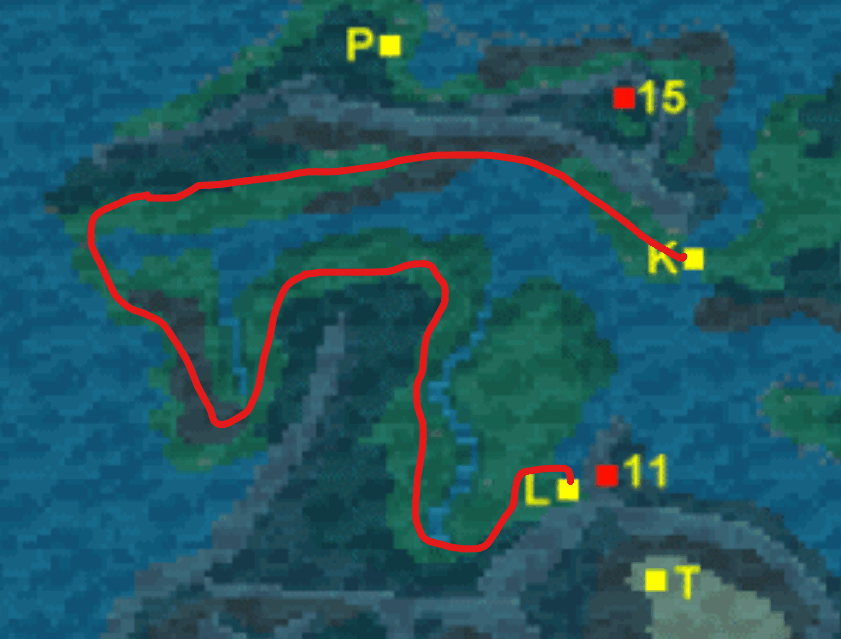
The world of Beyond the Beyond opens up fully to me for the first time. This stretch of the game was an absolute roller coaster. It definitely feels like the developers packed a ton of major story beats into this short segment, and now we’re rapidly accelerating toward the finale. This is my favorite moment in any JRPG, when the world opens up and you finally have the chance to explore, though it’s always better when you’re not fighting random battles every two steps. One call out, 20 hours in and you finally get a world map, but only if you inspect a random table on the ship that you only have access to for this 1 scene. If you miss it then you have will not have access to a world map for the rest of the game! Domnio is also my first ranged attacker which is great since I was finding melee characters to have much more effect in long dungeons than my magic users.

Now, with a real reason to hate the antagonist who’s directly impacted Finn and his family, the narrative finally has teeth. Beyond the Beyond took a long time to warm up, but now it’s firing on every cylinder. There’s still a lot of story to wrap up, and while I was hoping to finish this journey in two parts, I’ll have to invite you back for Part 3 soon.