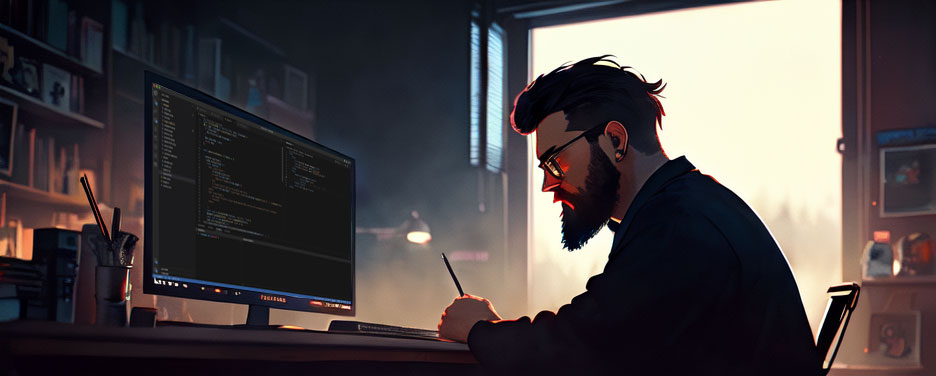
What an adventure this last week has been! I’ve seen mentions of AI generated art in many of the publications I read. I’ve seen friends bringing AI generated art to tabletop games to show off their character. However, my first direct interaction with AI art was through the iOS app by the name of Lensa. With this application you can upload 10-15 images of your face and have a bunch of avatars generate for you. These avatars now grace my Gmail, LinkedIn, and other social media accounts. The developer in me wasn’t happy. I couldn’t let this black box just run on some cloud server and give me results. I had to know how it worked and the technologies behind it.
I’ll admit, it has been some time since I punished myself with a series of late nights diving through Git repos and trying to piece together a new area of development, but looking back (after getting some much needed rest) I’m glad that I did. This post is going to outline my journey, touch on challenges I had along the way, and share some resources I’ve discovered. In the last part, I’ll guide you through how to replicate what I’ve done, but this space is moving so quickly that most of the guides I followed that were months old are now out of date.
I started this project with a simple goal. I wanted to generate AI avatars that were of the same quality as Lensa, but I wanted to do it locally on a machine in my home without relying on any “click a button, do a thing” type repos.

Part 1: Discovery
Being a polymath, I have a way I like to pursue learning a new topic. The first thing I do is a breadth first search across the web to learn the unique phraseology associated with the space I’m exploring. In this case, I started generic and tried to find some tutorials that related to my goal. I assumed that I’m not the first to want to replicate this. My Google searches for “tutorial generate ai avatar” actually gave me some great results. I opened up Penultimate on my iPad and started scribbling away things that I see pop up across multiple tutorials or related content from following a link rabbit hole.
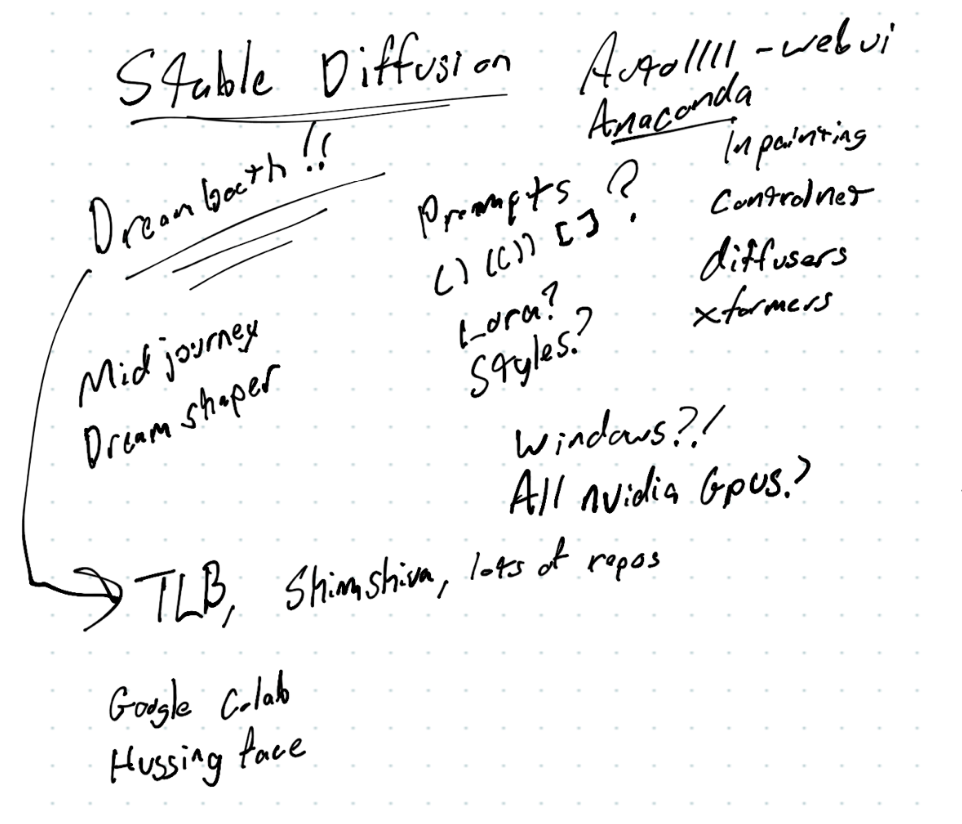
This technique has worked well for me when trying to orient myself in an unfamiliar space. There were things I was familiar with, like Python and PIP. There were also many terms I had no experience with or were entirely new to me. Anytime I see something mentioned across multiple sites, I add it to my word cloud. It is a simple process and as I’m writing this, I now think this process could potentially be automated using some basic web crawler scripts and maybe a bit of AI! After an hour of skimming tutorials I had my top 3 contenders: Stable Diffusion, DreamBooth, Automatic1111.
I have heard of Stable Diffusion, but this was my first time taking the leap understand what it actually was and how to work with it. One technique for generating AI art is with a diffusion model, at a very basic level, this model generates an image of noise, starts throwing math at it, then refines that noise until an image pops out the other side. Yes, this is a very basic explanation, but it was enough to let me experiment with it. This entire process still feels like magic and getting into the math was a layer too deep for what I was trying to accomplish. Stable Diffusion (SD) is one of those diffusion models, and judging from my searches, it is one of the most popular diffusion model being used currently.
SD would let me generate images, but I still needed a way to get my face into these images. With what I had learned, I realized I could train SD directly with my face using a large sample set, but I knew Lensa was able to do this with a small sample set. My tutorial skimming had kept coming back to DreamBooth whenever there was a need to confine the model to a specific person or object. DreamBooth is a tool designed specifically for constraining a diffusion model, and can give you the ability to train a specific object inside of that model. The examples given on their site show placing a specific dog, container, or other object into a prompted image. This was looking like the core solution for my goal.
Another thing that came up frequently was Auto1111, a repository that serves as a GUI to work with different generation models and pass in prompts. Early in my research, I wrote this off as an automated tool that would just take me from using one black box to another. Deciding to work with all the tooling from the command line was especially frustrating, but it was invaluable to understanding how all the pieces fit together. This wasn’t the only concept that I wrote off during my discovery phase. I knew that writing solid prompts was going to be crucial and judging by the prompts I had seen, there was some syntax that I didn’t understand yet. Some concepts seemed tangentially related and might need to be explored later, like “inpainting” and “lora”.
This is the point where I set my initial discovery aside and build out a plan for what I’m going to try. If there’s one thing I’ve learned in my many forays into a new skill set, no matter how good your plan is, it will not hold up in the long run. Because of that, I try to keep my plans high level so I don’t waste time planning unknowns and can adapt the plan as new information arises. In this scenario, my plan was:
- Get Stable Diffusion running locally
- Generate any image
- Generate an image that matches a pre-supplied prompt and seed
- Poorly train my face
- Generate something that has my features even slightly
- Figure out how to refine it
- Setup prompts that work well to generate avatars for myself
- Repeat 4-7 with my wife or kids
- Profit?
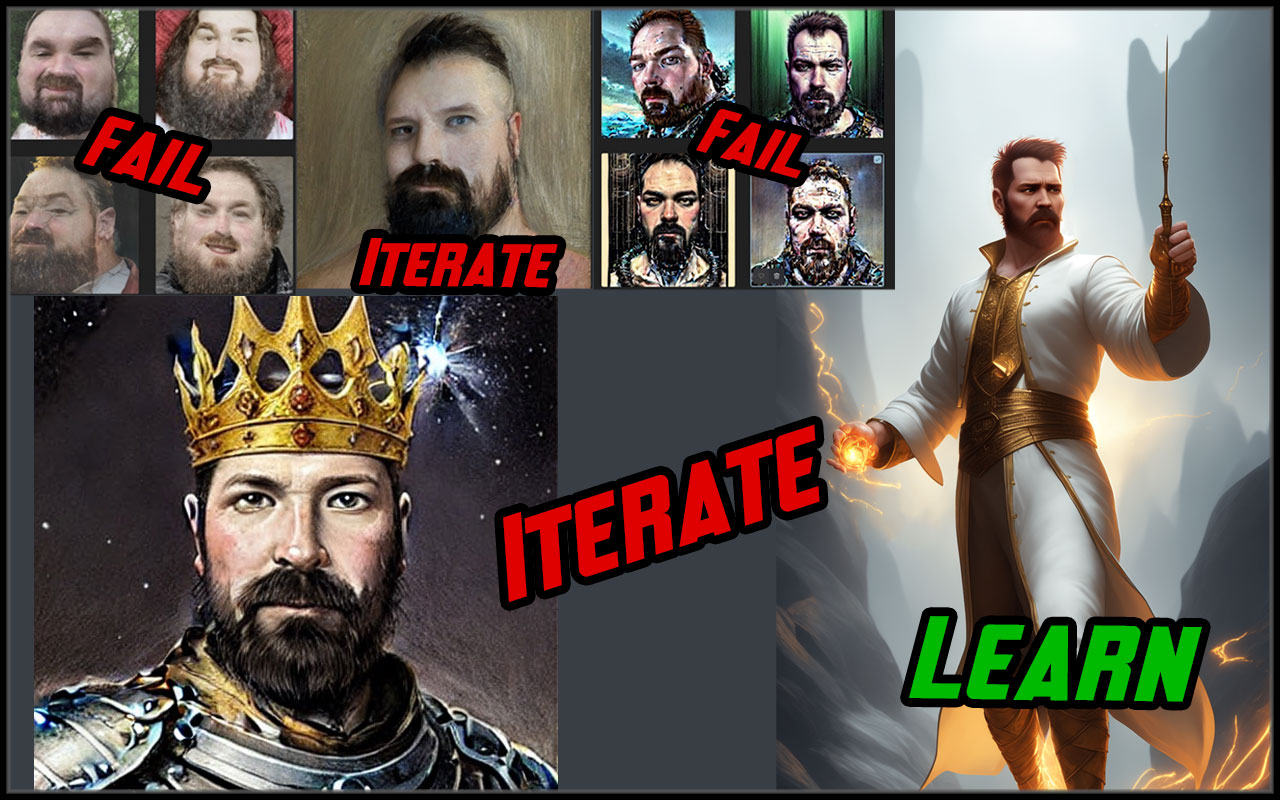
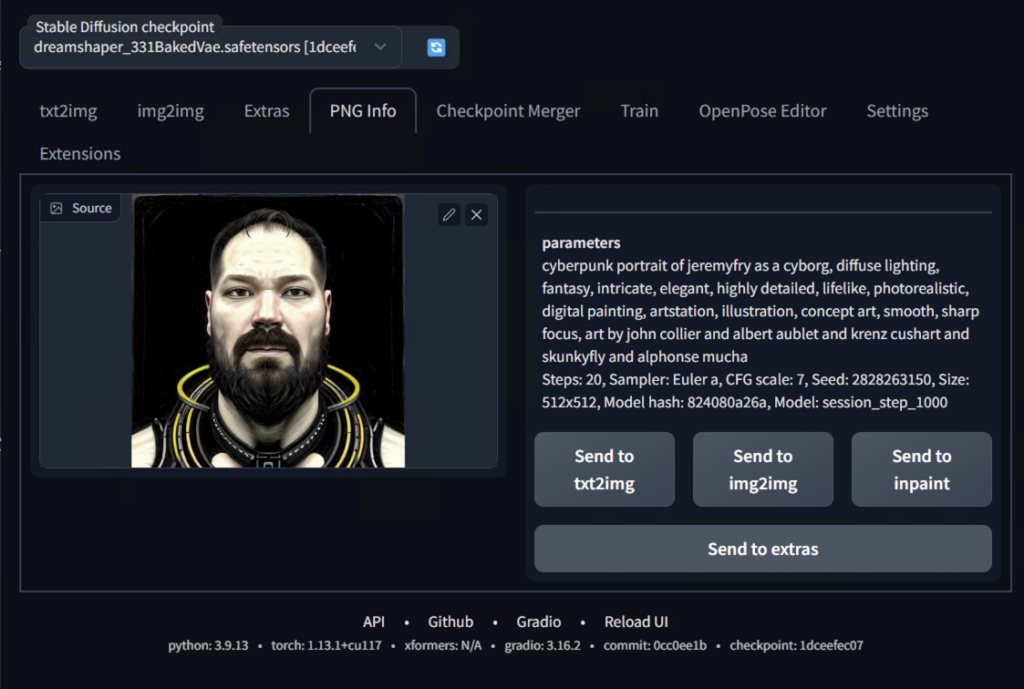
With my plan set and knowing that at any moment I may have to scrap it, I jumped into my command prompt and pulled down the first repo. But, how that unfolds is going to be in part 2. If you want to see how I generated those absolute monstrosities in the cover photo, you’ll have to stick around!