This is not a tutorial!
This post highlights the mistakes I made when learning. Your results will not be great if you copy code verbatim below.
After all the discovery I did in part 1, I was feeling very confident that I could get everything up and running locally. My first step was to get Stable Diffusion setup and be able to generate images locally using prompts on a standard model. Once I was confident I could generate decent quality images, I would move onto DreamBooth and use that to train my face into the model. Simple two-step process, right? Shouldn’t take long at all. I started with some tutorials that relied heavily on CompVis/stable-diffusion to generate images from a prompt. I didn’t realize at the time, but I was making two critical mistakes right at the start.
The first miss-step
Mistake 1 was starting with a Windows environment. I was surprised at the amount of Windows support I found when looking at libraries. Every library I checked out had examples with Windows, and I knew that getting my GPU to play nicely with the scripts I would be writing was a requirement. I figured if there is support for Windows already, why should I bother setting up a VM and dealing with passing through a graphics card? I quickly got my dependencies installed, checked out the example script for generating an image and fired up stable diffusion for the first time! Shockingly, everything worked the first try.
from diffusers import StableDiffusionPipeline
import torch
import sys

model_id = "stable-diffusion-v1-4"
pipe = StableDiffusionPipeline.from_pretrained(model_id, torch_dtype=torch.float16, safety_checker=None).to("cuda")

prompt = "a bear riding a bicycle"
image = pipe(prompt, num_inference_steps=60, guidance_scale=8.5).images[0]
image.save("generated/test.png")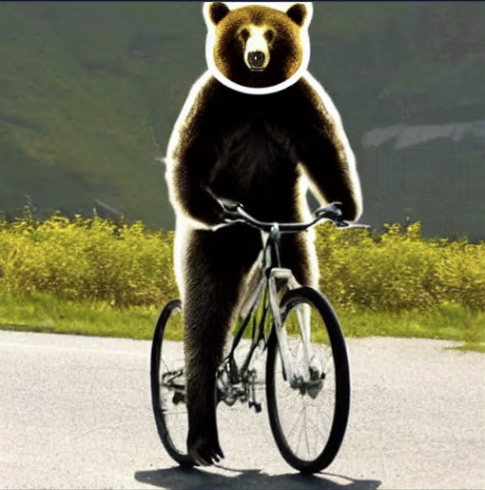
Things were going swimmingly! I was prepared to sink days into learning this and it was starting to feel like I’d be wrapped up within a few hours. I should have known that my hubris would come back to haunt me. There were a lot of repos that referenced DreamBooth, but HuggingFace seemed like the authoritative source from my limited searching. Looking into the repo’s examples folder, I found a set of scripts that gave me the starting blocks for training my model. The readme in the example folder gave me a set of examples. I create a training script and was ready for my next success.
export MODEL_NAME="runwayml/stable-diffusion-v1-5"
export INSTANCE_DIR="jeremy1"
export OUTPUT_DIR="output1"

accelerate launch train_dreambooth.py \
  --pretrained_model_name_or_path=$MODEL_NAME  \
  --instance_data_dir=$INSTANCE_DIR \
  --output_dir=$OUTPUT_DIR \
  --instance_prompt="jeremy person" \
  --resolution=512 \
  --train_batch_size=1 \
  --mixed_precision="fp16" \
  --gradient_accumulation_steps=1 --gradient_checkpointing \
  --set_grads_to_none \
  --use_8bit_adam \
  --learning_rate=2e-6 \
  --lr_scheduler="linear" \
  --lr_warmup_steps=0 \
  --num_class_images=200 \
  --max_train_steps=800
Within 5 seconds, I was greeted with an easily recognizable error.
RuntimeError: CUDA out of memory. Tried to allocate...One challenge with training models locally is the need for a lot of VRAM. The RTX 3060 I was using had 12GB of VRAM, which I considered to be a lot! For gaming 12GB is a decent amount of RAM to have on a card. Trying to resolve my memory woes, I found two different libraries that would help with memory. xFormers is a Facebook library that reduces memory during the training process, as does bitsandbytes. With my new memory saving scripts installed I was ready to go! I fired up the script again and that’s when I found out that bitsandbytes is not Windows compatible!
Time to head to Linux distro it seems. I thought about dual booting, but since I store the machine running all this code in my server rack, I didn’t want to deal with needing to manual change the OS in a bootloader, and given that I had thoughts of a more powerful GPU was floating in my head, I wanted to game on this rig in the future. The logical choice was using Windows Subsystem for Linux. To be honest, I was worried that I may shoot myself in the foot by not jumping right to a pure Linux install, but in the end using WSL didn’t cause any issues for me.
Learning from failures
If the first mistake was using Windows, the second mistake was not being a Python developer. Setting up the Python environment for stable diffusion was more confusing than I like to admit. I’m familiar with pip and installing dependencies from a requirements file, but with the limited scripting I’ve done, I have never worried about Python virtual environments. My lack of knowledge in the area combined with the tutorial i was following telling me to “Use Anaconda”, but not doing a deep dive on what Anaconda was, led me to create the most bungled mess of a Python environment that has ever been crafted.
# Setup conda environment, install pytorch and torchvision
conda env create -f environment.yaml
conda activate ldm
conda install pytorch torchvision -c pytorch
# Oh hey it's pip, that surely isn't related to conda ENV...
pip install transformers diffusers invisible-watermark
pip install -e .
Create an environment? Neat. That must be for torch or SD or something else right? RIGHT?!
I tried salvaging things for around 30 minutes before realizing this was a fresh install anyways. I blew the virtual disk away, reinstalled Linux and got started again. Things went much smoother the second time through. I left my base Python environment pristine and started fresh with a new conda environment. Within minutes, I was back to generating images using prompts. A few moments later, I had xFormers and bitsandbytes installed, tossed in a single training image, kicked off a training and got a progress bar! The terminal window was telling me I was 20 minutes away from having a trained model! My confidence was at an all-time high, but I had a sneaking suspicion I was sitting atop mount stupid. I killed the script and started prepping my training images for an actual run.
Training the Model
I had already compiled a set of training photos for my face from my experiments with Lensa, but the guides I read were pretty consistent in saying that the training data was best as 512×512 pixel images. SD is a Latent Diffusion Model that was trained on 512×512 pixel images from a subset of the LAION-5B database, so to get the best results, I needed to prep my images to fit that size as well.
I grabbed my 15 images and ran them through Magic Crop, a tool that finds faces, crops the photos, and gives you the output, all run locally in your browser. This tool was a huge time saver as I didn’t need to prep the images beforehand even with multiple people since it outputs each face! With my instance images ready, I went looking for some class images. When training DreamBooth you provide an instance prompt like sks person, a common pattern is to use sks as a unique identifier. Then you supply a class prompt that is the type of the object you are training, in my case a person. Bucking conventions, I used jeremy as my prompt, loaded my jeremy person and person prompts into my script, ran the training for 800 iterations and then waited 20 minutes for the training to finish. Little did I know, I was about to go down a 4 hour rabbit’s hole chasing a red herring.
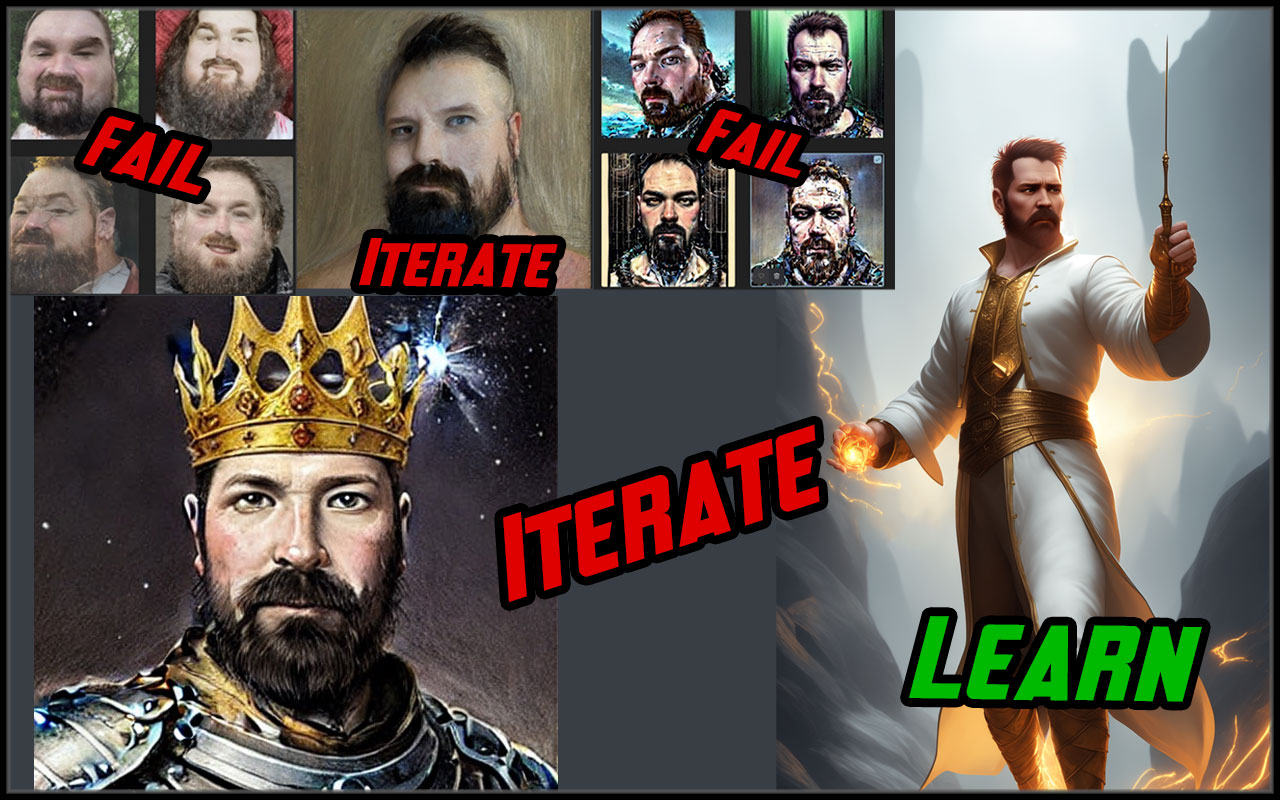
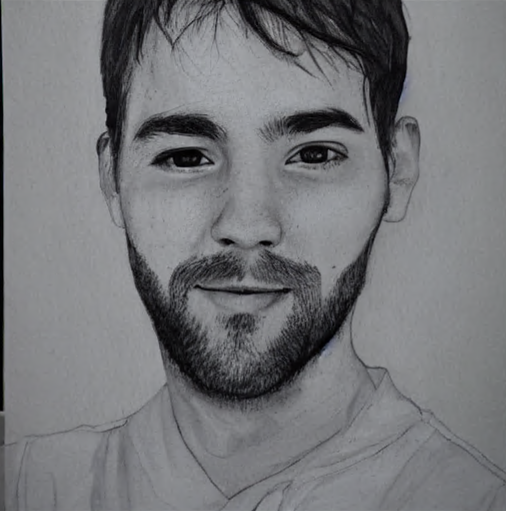
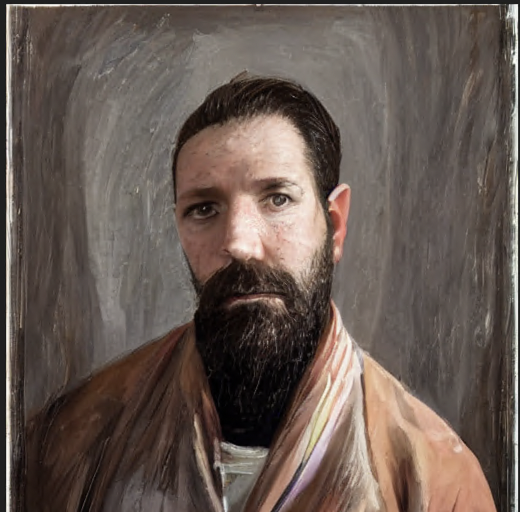
After training, I pointed my test script at my newly created model, added in the prompt of photo of jeremy person and generated some images. The first results were disappointing. The images I was generating maybe had characteristics from me. They were images of a white male with a beard, but looking at them, nothing stood out as being me.
During my discovery phase, I found out about Google Colab and the notebooks you can create using this incredible resource. These notebooks are amazing for running through a set of steps like a tutorial very quickly. You can spin up a VM, run a series of predefined code blocks using markdown based GUIs for collecting inputs. I went back to one of the tutorials I found that used a Colab and decided to sanity check my work. I booted up the Colab, fed in my images, let the training run, and tested the exported model. This time it actually resembled me… Oh no. Something is wrong with the way I’m doing the training locally and I don’t have not gained enough knowledge in the subject to understand what.
I was frustrated, but I was not ready to give up. I cloned the same repo that was used in the Colab and most of the dependencies were already met so within 10 minutes I had my data set loaded in and training started. Unknown to me, this was the moment where I fell down the rabbit hole. I won’t ruin the surprise, but I had the opportunity to avoid the next 3 hours of iteration if I had just performed one simple step. I fired up the training script again, waited 20 minutes for the model to finish, and ran my test again. The resulting image looked nothing like me, in fact, it seemed like nothing in the model had changed at all.
I started digging through the examples in the repo I pulled down and realized there was a big difference between what I was doing and what another tutorial was using. In this new tutorial, they were using a set of class images for prior-preservation loss to avoid over-fitting/language drift. Looking back with the knowledge I have now, over-fitting was the exact opposite of my problem. If I was over-fitting my model, then every image would come back as a near photo replica of the training data I put in. Not knowing this, I spent 2 hours trying different class images from JoePenna and trying various amounts of iterations to train the model. The resulting models were now changing, but now I was getting disfigured people still with 0 attributes from my face.
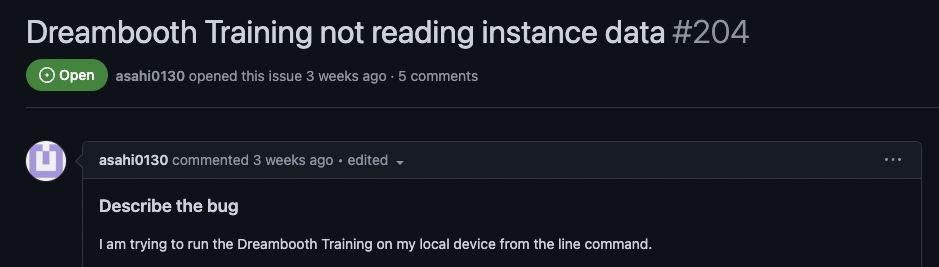
Another thing that crossed my mind during this was my prompt was using jeremy person as the training prompt. I started to worry that this term was not unique enough and may be causing confusion during the training process. Well this is true and using a unique identifier is better, changing it to a random string of Zs and Fs let me with the same mangled images. My frustration with the problem was peaking and pouring over line after line of code from the Colab and my local machine was getting me nowhere. I knew it was time to step away and hope for a fresh perspective the next day. With the clock already well past midnight, I headed up to bed. I was having a hard time letting go of the problem and I couldn’t help but do one or two more searches before putting my phone away. The first search I made returned an interesting GitHub issue. When I read the title of an issue in the repo, “Dreambooth Training not reading instance data“, I couldn’t believe it.
Making progress
This was the answer! This was the source of all my frustrations for the last few hours. I wasn’t doing anything wrong after all. The current version of xFormers, a Facebook library that help reduce the memory required for training AI models, had a bug that caused DreamBooth to not use the instance images to train the model. Remember that pivotal moment from earlier? Had I just wiped my Python environment and installed the version of xFormers from the example, my training would have worked!
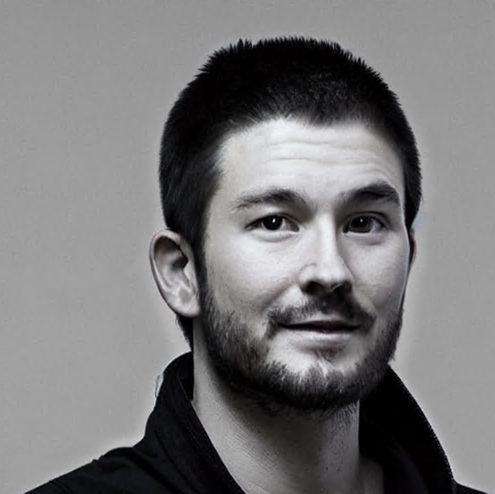
The next morning I uninstalled xFormers and installed the latest beta version. Why go backward when you can go forward, right? I ran the training script again with 500 training steps as a sanity check to ensure the models were coming out the right way. I generated an image with the prompt jeremyfry person and had my first success. The resulting image was not great, but there were definitely characteristics of myself in this image!
I was off to the races! I had a local workflow for creating models and testing them. Now I could start iterating on the training and working on prompts. Honestly, the relief I felt at this point was overwhelming. I had cleared the first major hurdle, crawled my way out of the pit of despair, and was ready to achieve my goal. I’ll take you through how I refined the model, the things I learned along the way, and give a full rundown of my workflow in Part 3.